Friday, 18 March 2011

Take 8 - My environment

I'm back with more 3DS MAX, and this time it's fog, and I have had a lot of problems from 3DS Max and I hate it right now, so excuse my lack of enthusiasm...
1 - under "Atmospheric Apparatus" creation menu, create a "Box Gizmo".
2 - place a "Volume Fog" on the "Box Gizmo" after resizing to your specification.
3 - go to the "Volume Fog" settings and adjust the values to your specification.


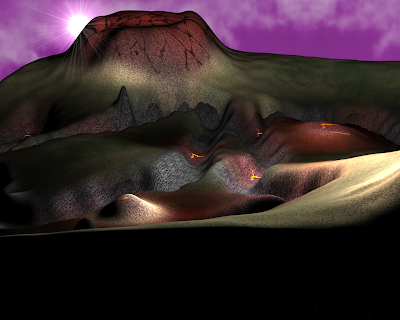
The above is result a got, the shadows do make it look weird, but I don't care, I haven't yet decided if I will keep the effect, the only value I really changed, was the "Wind Direction", as it seems to affect the fog most.Here's a zoom out render, to show the fog effect throughout my environment,

Thursday, 17 March 2011

Take 7 - My environment

And hello again, today is the day I have a go at making the sky a 'little bit fantasy like', to suit the rest of my environment, I first started using a orange panoramic texture, but it didn't seem to work well.

I found this image on the web some where, it was only suppose to be temporary, but I decided to keep it until, after changing my environment texture, it began to look out of place.
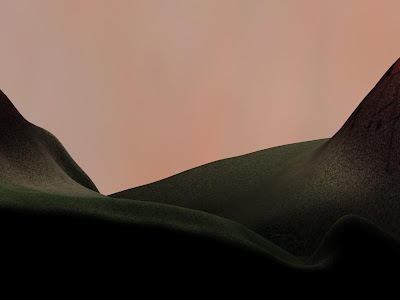
It did look plain, so I began to search the web for a new texture, I also wanted the texture for my sky box to be square, as I found a panoramic texture, is harder to texture a geosphere with, as an obvious seem appears where the texture tiles, so I changed the texture to a mirror instead to solve this problem, but I thought a more square texture might not need changing.
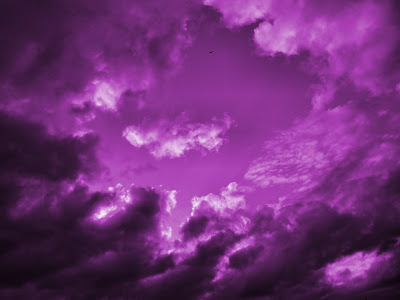
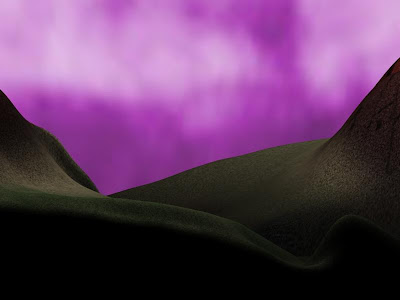
This is the texture I picked, I thought the colour purple was very fantasy themed, and this is the image I used to practice tiling with, but like the panoramic texture, it needed fiddling around with to get it textured well, which included changing UVW numbers in the material editor, to change how it textured.I believe it works better, although I might re texture the sky, with an original one that I have made, but only if I have time.
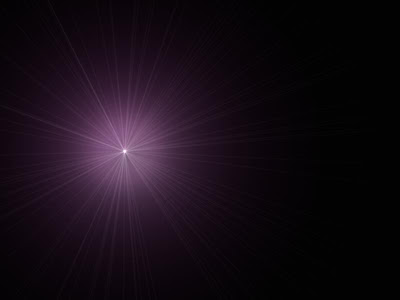

The next step was the sun, which I would create from an Omni Light, I learned how to do this over the Internet, it was actually very simple, first I created a omni light, and named it, I then went to environment effects and put a lens effect, which included the individual effects to be added "Ray, Glow and Auto Secondary" and chose the named omni light to place them on. And the Above happened.
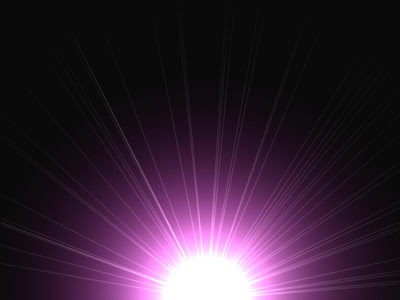
I experimented with colours and chose a purple, as my sky box was purple, and because the sun wasn't a sun, but a star to my fantasy world, it didn't need to look like our sun, so I didn't bother with other lens effects that would make it look realistic like "Ring" and "Star", because its not a sun, I get to name this as well,....Larei. I changed the "Multiply" setting on the omni to change the overall size of Larei and excluded objects which included the sky box in lighting effects so they wouldn't be affected by Larei's light, as it was too strong and changed the whole sky box white.The final result, I decided in the end to exclude everything from Larei's light as it was too strong, this meant I could have Larei as big as I wanted without worrying about the lighting as the setting "Multiply" was also the light intensity setting. I used other omni's to light areas instead.

Thursday, 10 March 2011

Take 6 - My environment

As you may recall, I did a post on some buildings which I made from blocks, instead of the more conventional way of a few basic primitives, see below for reminding.


Now I was playing "Minecraft" a lot at the time so I guess that's where the idea came from, and basically it was a stupid idea as the computer wasn't powerful enough to render 40,000 poly's at once and kept crashing when imported into my environment, so I started again, but I kept the church as it was only a few hundred poly's.Here it is again the new castle that only took a fraction of the time, but because there suppose to be ruins I had to build it and then DESTROY it, by deleting faces and creating new ones, the texture needs a bit of work, but that's for next time.Here is my new castle and church together in my environment, I will create more buildings for the Ruins of Eoel *Originally Named", later on.

Take 5 - My environment

Okay, today I tried making opacity maps for 2D objects, and I first practised on,..well pikachu.

To do this I first had to make a plain in 3DS Max, which I made perfectly square, as Pikachu was also perfectly square so when I put the texture on it would fit. I had to import 2 textures, one for the diffuse texture and the other for the opacity map, above are them 2 images, I exported the coloured one as a JPEG and the other as a Bitmap, I just made it black so the background in the coloured one wouldn't show in 3DS Max.

Above is a 2D Pikachu in 3DS max as a sort of cut out, although it doesn't look like it, technically Pikachu is now in 3D. It is 2 sided, to do this I just checked the box in the texture menu that said "2 Sided".


Above is another try at opacity maps, all I did was take the render of my environment, when it was slightly purple and like Pikachu imported it into PhotoShop and turned it black and white using a colour overlay and imported them into 3DS Max onto a plain that fit. I did this to make my environment look longer than it actually is and provide background inside my sky box.
Above is how I set it all up and when rendered, you can see how the opacity map works.
I do like it but when creating my sun I found it harder, to set a camera that allowed me to see the sun and not the background, basically it was in the way, so I don't think I will use it...

Right I had a funny idea, well call it inspiration, but while making these 2D objects, I recalled a certain game "Magicka" on "Steam for £7.99", uses cut out sheep and cows in there 3D environments, and I thought I would do the same, but because it has to be original, I drew a horse,,,..I mean unicorn in PhotoShop, I then made it into a opacity map using the same technique.
And above is the finished product in 3DS Max and I put 2 3D basic primitives in it so you can see it better.And I thought that my environment needed some cheering up so I put a few in there and excluded them from the main light source and gave them there very own spotlight, so there see-able.

Take 4 - My environment

Now Let me explain, I wanted a purple fog/mist in my environment and instead I somehow gave it a glow, I selected the environment and went to the environment effects and put a fog on it although I changed all the colours to purple and it just turned, everything purple, I tried adjusting the settings but I wasn't really happy with it, so instead I changed the ambient colour to purple on a whim and this happened.


As you can see I fiddled with the colour pallet and although I do like it wasn't what I originally wanted, I have followed a lot of tutorials on fog, but I think the 3DS Max was bugged or the settings had been changed as nothing was working how I wanted, so I'll try again later...Maybe

Wednesday, 9 March 2011

Take 3 - My environment

This is my final (I think) displace map and texture, there has been a lot of editing to my previous most of which you wont notice.


What I have changed with this displace map is the pathway through my environment, before I was going to have the pathway go from one end to another, but decided that I would have it end on top of my mountain, and from the last attempt I found blurring or liquidising areas of black and white produced good mountainous terrain, so I used more of it. The boarder of black on the above is to give a falloff so it looks better from afar while in the environment.
This is my texture for the displace map and the only real difference is that I put an overlay on the grass to give it a darker yet mossy look so it fit with the rest of the landscape.
The final render does look, darker but that is because ray trace shadows and lighting are in the environment, as I was planning on creating a light source in the form of a sun,,and that went terribly wrong....
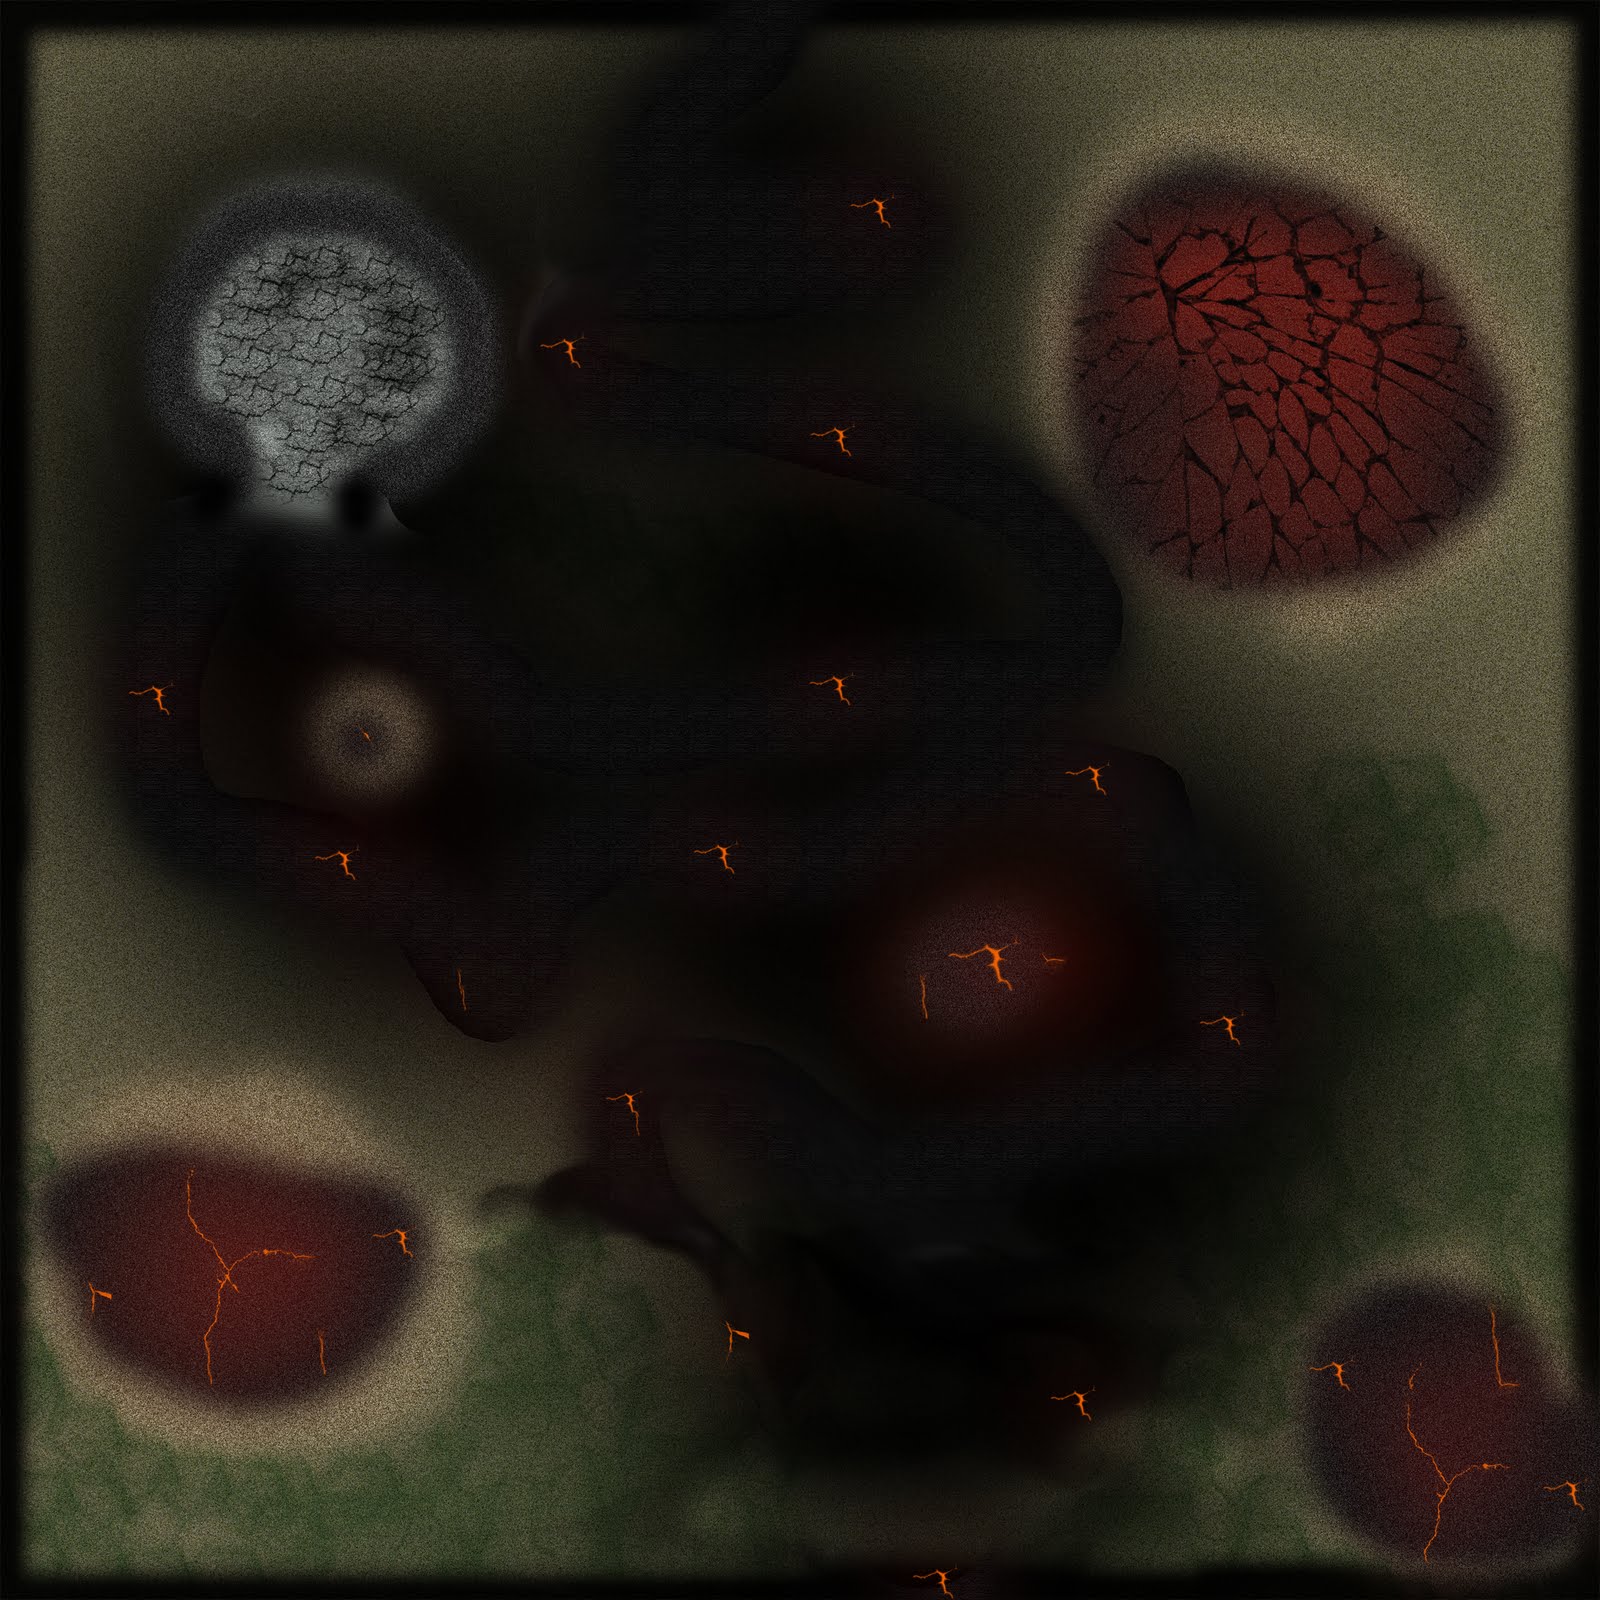
Although I did think of some place names, (it took longer to think up names than it did to design the environment) the world that my environment is in is called "Laeya" and the actual environment is called "Temeiz", I think these names are original but I'm not sure?

Take 2 - My environment

Hello again, and time for take 2, another atempt at creating a displace map, this time though, I was actualy trying and the first difference you will see is that it looks plain and smooth, this was to get the terrain right, putting white right next to black creates a cliff and is hard to texture.


As you can see above I have used PhotoShop to blur the displace map too give me a smother and less pointy terrain, as last time I ended up with points sticking out because there was little bits of white everywhere, and as I now know the lighter the contrast the higher it becomes when used as a displace map in 3DS Max.Now I thought I would try texturing it bit by bit to have a chance to import and have a look before I continued, so I could quickly adjust things as I went along.
My final texture looks very simular to my last one, but I added a better noise and changed the colours slightly to aplease my speifcations, although I did decide to make a simular texture to my last one rather than follow my orginal plans.This the final render using the above texture and displace map, a lot better than before, but I believe I can do better..I hope