Thursday, 14 April 2011

Take 13 - My environment

Now the time to merge my teamfriend's portal and train, which for once actually merged without problem.
So A bit of scaling and the train and portals where ready to be placed, I had to change the portals animation to only animate when the train is in view of the camera.


I deiced to also create and merge a arena that would host the portal on top of my hill and this is what I came up with. (Below)
I created the arena from copying and pasting cuboids with bend modifier's on them, I then used my old friend the symmetry modifier which allowed me to only create one side of the model.This is the Arena with a different opacity texture and it is unknown if I will change it.

Take 12 - My environment

I thought it was time to create more buildings for the Ruins of Eoel, and so I quickly made them.

Well I did say quickly, I made it by creating and them extruding a cylinder and after converting it to an editable poly, I cut a hole in it to represent a door and placed a Noise modifier on to give it a more ruined look.

The second building was a house and I created the side from cubes and after the same repeated steps as the watchtower, I just scaled the cube to look more the part. The sticks are cylinders with the same, yeah you guessed it's a Noise Modifier.This is a test render of the merged buildings with a texture on, which I use quite a lot with a UVW Map modifier to fit the texture nicely. The church and castle from my previous work where added as well. Oh and I've decided to make no more buildings, because I don't watch to over crowd the small area.

Take 14 - My environment

Now part two of the looping animation, and the hardest, importing the loop, and to make a story short it didn't work and even though i copied every value from the merged f*cking original to recreate the effect it still refused to work, so I basically thought f*ck it and kept what I had
I copied the loops about 12 times and managed to get a render done, the videos below is a test to see the loops in action. I hid everything apart from "Helpers", which included my sun.


Only after rendering I noticed the animtion it looped wrong and have fixed it.

Monday, 11 April 2011

Take 11 - My environment

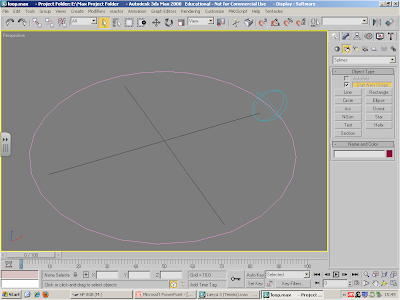
The next step for my environment was some sort of animation in the background of my main one, and I decided to go with a light representing a soul, which would loop in circles, I would have about 10 of them so my environment didn't look static.First I had to creat an gizmo so I could place a fire effect on it, I did this by going to the Create tab on the menu and then; "Helpers>Atmospheric Apparatus>Sphere Gizmo" I then created a 2D circle and had the gizmo follow it by putting a path constrain on the circle and then adding my gizmo.
The next stage was placing a fire effect on the gizmo, I did this by basically selecting the gizmo and adding a fire effect through the add effect menu, I played around with the values and then rendered it.

Here is a render of the effect, the final step was to loop it, and to do this I went to the Window menu and followed this path; "Graph Editor>Curve Editor", I then selected the gizmo,"Controller>out of Range Types" and finally selected the loop option.

This is the final product just need to open it with my environment, what could possibly go wrong?

Take 10 - My environment

Hello there I'm back doing my enviorment for my final project, and today I didn't make trees.

It would be a lie to say I created the trees, because I didn't there inbuilt models in 3DS Max and I didn't see the point in making my own when these ones are staring me in the face. by going to the create tab on the menu in 3DS Max and then "Geometry>ACE Extended>Foliage", it enabled me to create a tree or foliage as they call it from a selection.
After scaling the tree I wanted to fit into my environment, but because my environment is a fantasy themed one I didn't want the default texture I wanted a weird yet wonderful fantasy themed tree, I then accidentally moved my environment map on the tree instead of another texture I had previously created, and above is the result. I kind of liked it and decided to keep it.Here is part of my environment with some more foliage to give it a more realistic look, sort of?

Friday, 8 April 2011

Randoms - A mask?

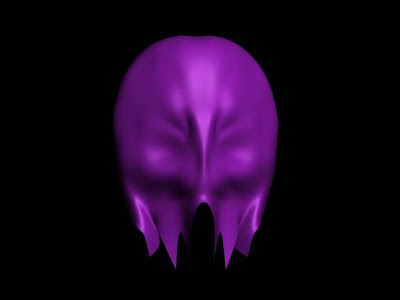
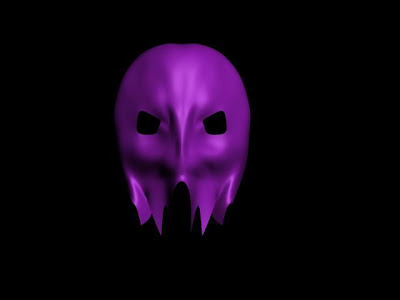
And i'm back with random shit, I mean stuff, well I thought I'd have a go at making a face, but being me I decided to alter my model more than it would allow me to undo in 3DS Max, I found that you could change how may times it allows you to undo, but only after I had desecrated my face model to look like a sort of alien mask thing.

The face was originally a sphere that I had converted to an editable poly, and extruded a few vertexes and edges until it looked like a face, I wasn't using a reference image as I already know what a face looks like, as I have one, a face I mean. And I basically added a symmetry modifier after I deleted half the model, so I only needed to worry about half the model and a turbo smooth with an literation of 2 to well, guess.
I accidentally deleted and extruded the base and the turbo smooth made it look like what it is, so I just tidied it up and went with it. I added to holes for eyes and thought what the hell its a mask.